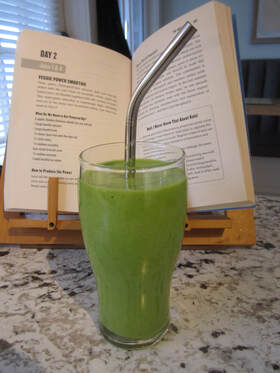
 This juice was adapted from 5lbs in 5 DAYS by Jason Vale. I have adapted it by making 2 juice bases at once and using spinach, avocado and ice cubes in a blender to finish it. (makes 2 juice bases)
Ingredients (base)
When you are ready to serve transfer the base juice to a blender or NutriBullet and add (per serving):
Go here to print this recipe: recipe_juice_veggie_power_smoothie.docx 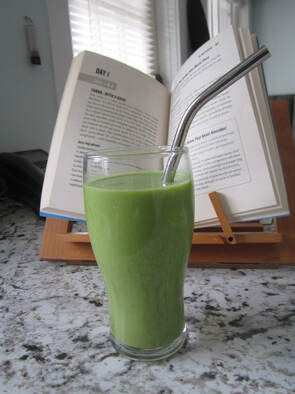 This juice was adapted from 5lbs in 5 DAYS by Jason Vale. I have adapted it by making 2 juice bases at once and using frozen pineapple and spinach in a blender to finish it. (makes 2 juices)
Ingredients (base)
When you are ready to serve transfer the juice to a blender or NutriBullet and add (per serving): Ingredients (finishing)
Go here to print this recipe: recipe_juice_turbo_with_a_kick_of_ginger.docx 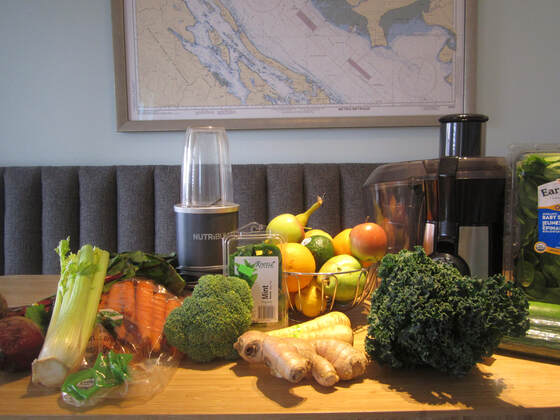 Juicing. We all know it is so good for us but what a mess and hassle. I have developed a few tricks out of necessity so that I am more likely to incorporate juicing into my day. There is however some nutritional compromises that will be met so if you a juicing to support an anti-cancer diet and/or need to squeeze every last nutrient out of the juice the ideal juicing scenario is:
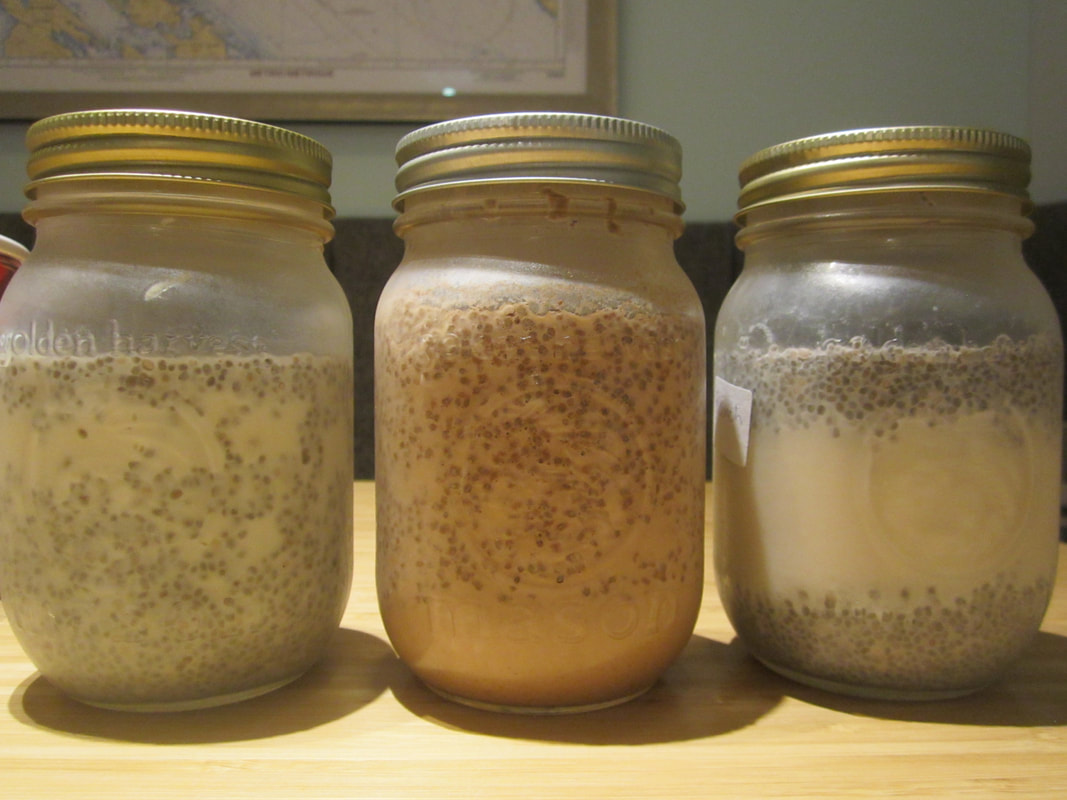 Pictured above from left to right: Lemon Chia Pudding, Chocolate Chia Pudding and Vanilla Chia Pudding. This adapted recipe, and its variations, is from the book Living Candida Free. It is raw and contains no sugar so it is a great dessert when you are craving something sweet but need to avoid sugar.
I make each pudding in a mason jar and store in the fridge so they are ready to go. Also, the longer they sit in the fridge, the firmer they become. Each jar contains 2 servings. Basic Vanilla Chia Pudding
Variations: Lemon Chia Pudding: Add the zest of ½ an organic lemon to the pudding with the other ingredients. Increase stevia to 15-20 drops or to taste. Chocolate Chia Pudding: Add 2 tablespoons (30 ml) raw cacao powder with the other ingredients. Increase stevia to 20 drops or to taste. To print these recipes go to: recipe_basic_chia_pudding.docx 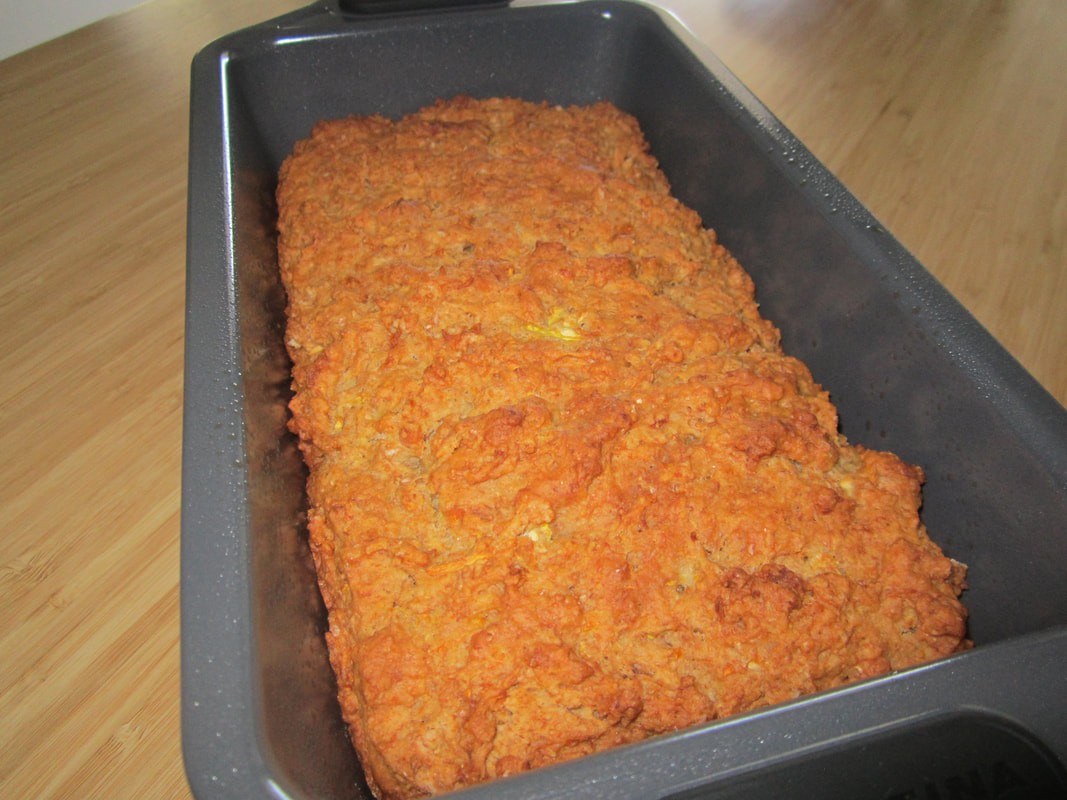 The moistness of the zucchini with the subtle orange flavour is fantastic. This recipe is an adaption from Eating Alive. I have made this recipe gluten free but you can use any flour you want. I chose millet and barley as I had a lot on hand.
Dry Ingredients
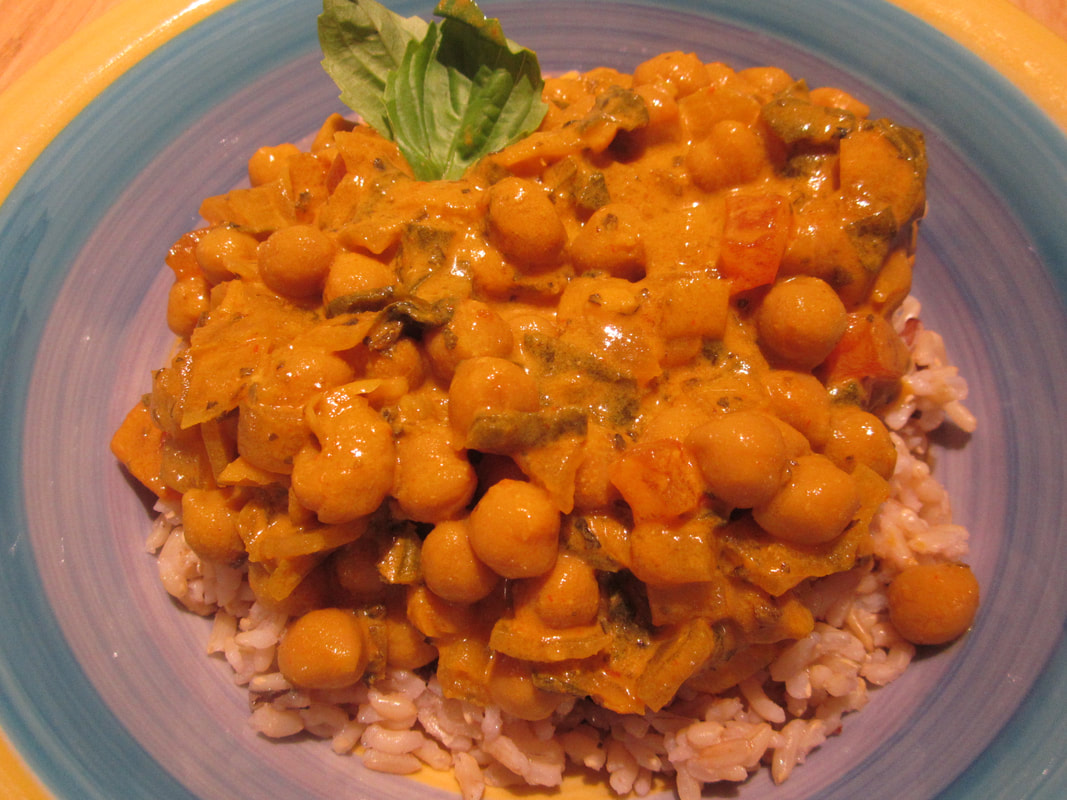 This super fast and easy recipe is absolutely delicious. It makes 4 servings and freezes really well making it a super fast healthy meal on the go. Chickpeas add a great texture and boost the protein content. Serve this over brown rice to really make a meal.
Ingredients
 Here’s a delicious compromise for our traditional high fat and high sugar apple crisp. This recipe is adapted from www.diabetesfoodhub.org. It still uses a little bit of brown sugar so if you have issues with sugar, make sure you follow the portion size (1/2 cup per serving).
Ingredients:
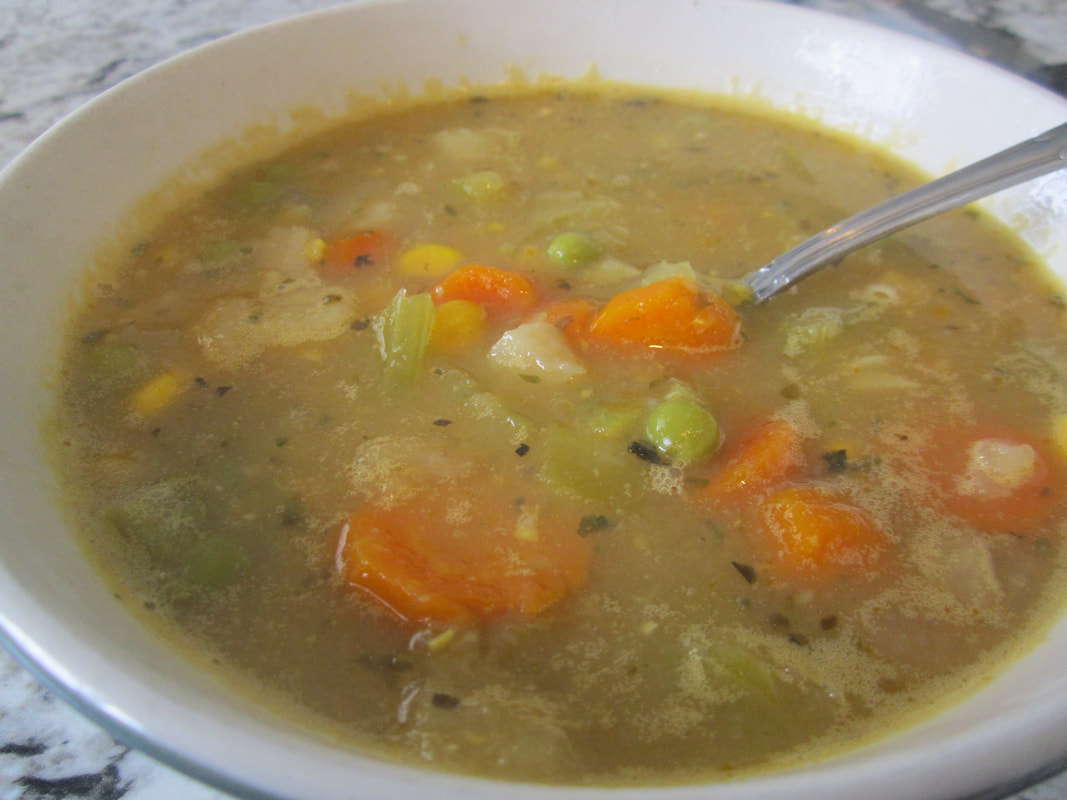 Here's a fast and easy vege soup recipe that has great depth in flavour. I have adapted this recipe from Eating Alive by Dr. Jonn Matsen. Note: You'll need an immersion blender or a blender to make this recipe. Just make sure the soup is cool before placing in a blender. (step 5)
Ingredients:
Go here to print this recipe: recipe_vegetable_soup.docx 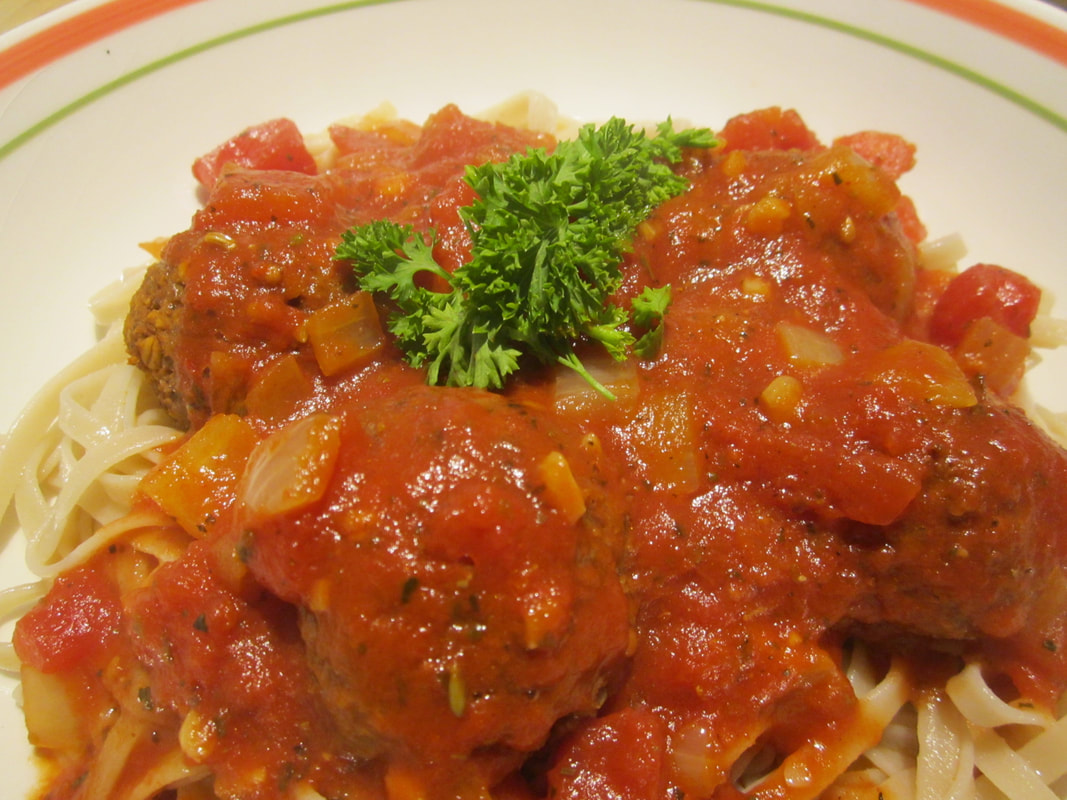 This recipe is absolutely fabulous. The combination of lentils and walnuts gives the texture of meat and fennel seeds are a revelation for giving you that true Italian flavour. I have adapted this recipe from www.fragrantvanilla.com. To make this recipe oil-free, simply sauté the onions and garlic in water and eliminate it from the sauce. Choose salt free organic tomato products if possible.
Meatballs (makes 24 balls)
Directions
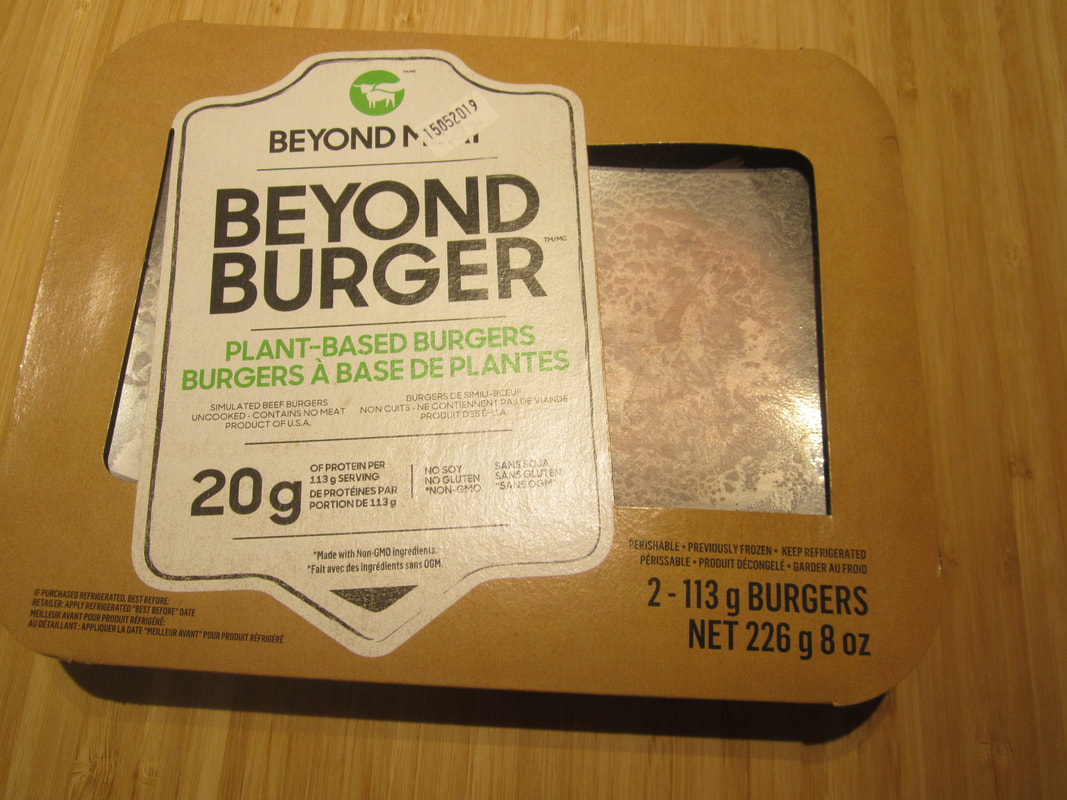 First introduced at A & W, these patties have rocked my world. They have the taste and texture of ground beef and with 20 grams of protein, there is no need to sacrifice taste for good health. You can now find these patties either in the meat section or in the frozen food section of your local grocery stores. I have bought them from 49th Parallel, Thrifty's, Country Grocer and QF. They aren't cheap but good quality usually isn't. At most stores the price is $7.99 but QF sells them for $6.99. Even my meat-eating husband loves them. This is the easiest way to give a plant-based meal a try and just in time for barbecue season.
|
 RSS Feed